Deployment of server application in Docker containers
Gisquick application is split into 3 services running in Docker containers:
QGIS server (
gisquick/qgis-serverimage)Django Application served with Gunicorn (
gisquick/djangoimage)Nginx Server (
gisquick/nginximage)
Note
 Official Gisquick Docker containers are available
from Docker Hub.
Official Gisquick Docker containers are available
from Docker Hub.
Docker images can be put together using docker-compose
command. The command reads configuration file in YAML
language. Sample configuration of Gisquick services is shown below.
 1version: "2"
 2services:
 3  qgisserver:
 4    restart: always
 5    image: gisquick/qgis-server
 6    volumes:
 7      - ./_data/publish:/publish/:ro
 8    ports:
 9      - "9000:90"
10
11  django:
12    restart: always
13    image: gisquick/django
14    links:
15      - qgisserver
16    volumes:
17      - ./_data/data/:/var/www/gisquick/data/
18      - ./_data/media/:/var/www/qisquick/media/
19      - ./_data/publish:/publish/
20    environment:
21      - GUNICORN_WORKERS=2
22      - GUNICORN_ERRORLOG=-
23      - GUNICORN_ACCESSLOG=-
24    logging:
25      driver: json-file
26      options:
27        max-size: "10m"
28        max-file: "10"
29
30  nginx:
31    restart: unless-stopped
32    image: gisquick/nginx
33    links:
34      - django
35    volumes_from:
36      - django:ro
37    volumes:
38      - ./_data/etc/letsencrypt/:/etc/letsencrypt/
39      - ./_data/var/www/certbot/:/var/www/certbot/
40    ports:
41      - "443:443"
42    environment:
43      - NGINX_HOST=server
44    logging:
45      driver: json-file
46      options:
47        max-size: "10m"
48        max-file: "10"
Note
Sample configuration is also available from
Gisquick source code: docker/example.docker-compose.yml.
It is important to set up shared directories mounted by Docker containers
as volumes. QGIS Server requires setting up publish
directory which is used for published Gisquick projects (see line
7). Django Application stores SQLite database in data
directory (line 17), tile cache is managed in media
directory (line 18). SSL certificates used by Nginx Web Server
are stored in directory letsencrypt (line 38).
Tip
 Use
Use certbot directory instead of
letsencrypt when it is intended to use Webroot mode
to generate new or renew existing Certbot’s SSL certificates.
QGIS server is running in this case on port 90 (see line 9), Nginx
web server on default port for HTTPS protocol 443 (line 41).
Before composing Docker images, shared directories must be created on
host machine. In shown example all directories are located in the same
folder as docker-compose.yml file.
$ mkdir -p _data/publish _data/media _data/data _data/etc/letsencrypt/live
Directory for SSL certificates is defined by NGINX_HOST
environmental variable (see line 43) located in live
directory. For sample configuration, the SSL certificates will be
located in ./_data/etc/letsencrypt/live/server
directory. See example of creating self-signed certificate below.
$ mkdir -p _data/etc/letsencrypt/live/localhost
$ openssl req -x509 -nodes -days 3650 -newkey rsa:2048 \
 -keyout _data/etc/letsencrypt/live/localhost/privkey.pem \
 -out _data/etc/letsencrypt/live/localhost/fullchain.pem \
 -subj "/C=CZ/ST=Prague/L=Prague/O=Gisquick/OU=IT Department/CN=localhost"
Note
For production self-signed SSL certificates will be
not enough. In this case can be recommended Certbot (LetsEncrypt)
certificates. See additional information on GitHub.
There are more environmental variables which can be defined. Django container allows to set up:
DJANGO_GISQUICK_UPLOAD_MAX_SIZE- max. size of uploaded projects (string)DJANGO_DEBUG-TrueorFalse(bool) to enable/disable debug messagesDJANGO_ACCOUNT_ACTIVATION_DAYS- number of days (int) for activation of user account
Example of additional configuration:
django:
  environment:
    - DJANGO_GISQUICK_UPLOAD_MAX_SIZE='10M'
    - DJANGO_DEBUG=True
    - DJANGO_ACCOUNT_ACTIVATION_DAYS=3
At this point docker-compose command can be run
Note
Notes about installing Docker in Debian Stretch:
$ sudo apt update
$ sudo apt install -y apt-transport-https ca-certificates wget software-properties-common
$ wget https://download.docker.com/linux/debian/gpg
$ sudo apt-key add gpg
$ echo "deb [arch=amd64] https://download.docker.com/linux/debian $(lsb_release -cs) stable" | sudo tee -a /etc/apt/sources.list.d/docker.list
$ sudo apt update
$ sudo apt install -y docker-ce docker-compose
$ docker-compose up
This command downloads required Docker images, run and compose
them. Gunicorn logs (see lines 22 and 23 in
docker-compose.yml) are redirected to the terminal.
Tip
Docker compose command can require Administrator rights
(sudo). To avoid that add current user to docker
user group.
usermod -aG docker <my-user-name>
By default, Gisquick platform is accessible on localhost port 443 (see
line 41), https://localhost
Note
When using self-signed SSL certificates an exception in web
browser will be probably required to be added.
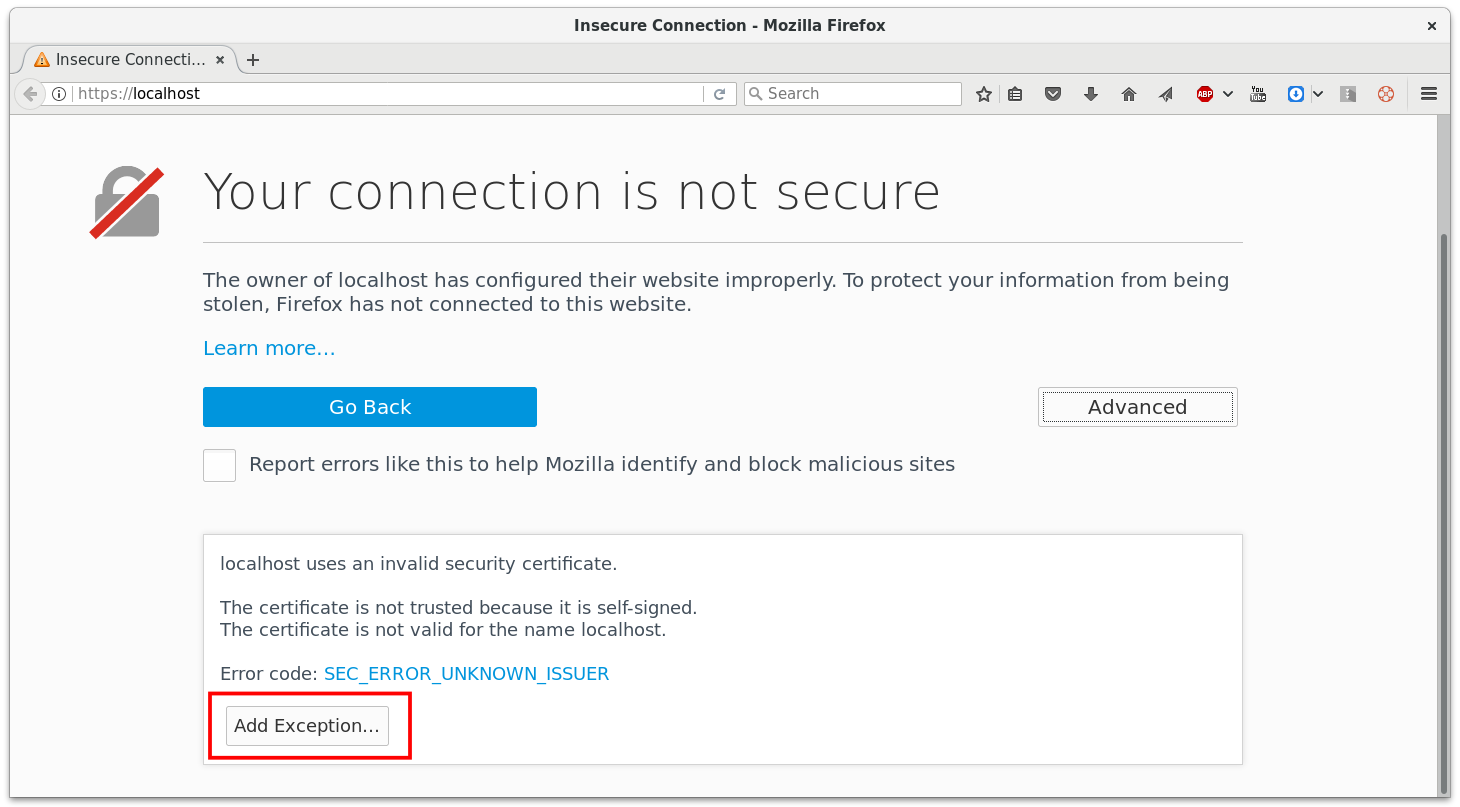
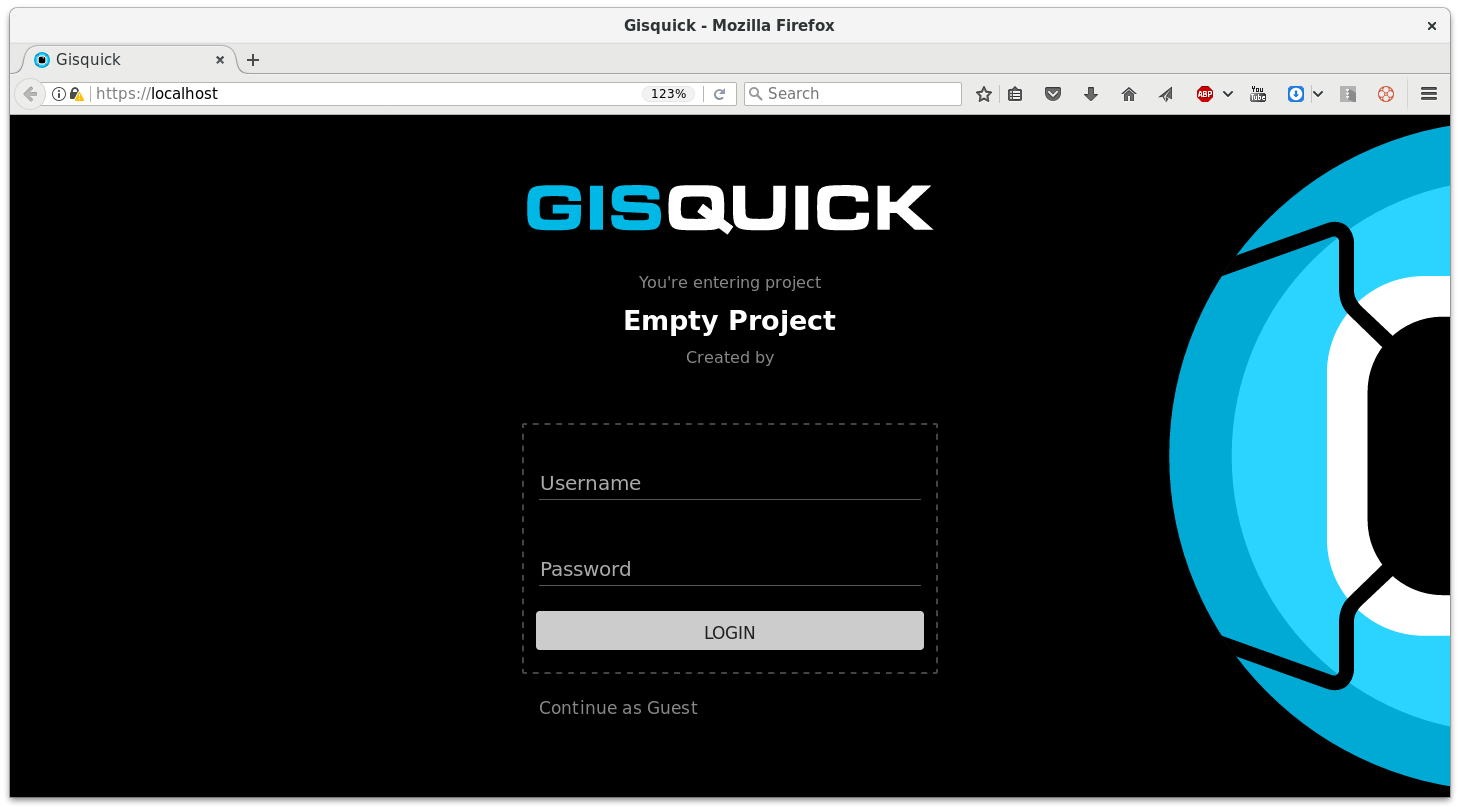
Figure 2: Gisquick login screen.
Update installation
At first, running instance should be stopped.
$ docker-compose down
Docker images will be updated by pull request.
$ docker-compose pull
And up-to-date container can be afterwards combined as described above.
$ docker-compose up
Useful tips
Access running Docker containers
Example of accessing Bash on gisquick/django container:
export DJANGO_CONTAINER_ID=`docker ps -qf "ancestor=gisquick/django"`
docker exec -it $DJANGO_CONTAINER_ID bash
Run Gisquick over HTTP
Download gisquick.template
into directory where docker-compose.yml lives. Change NGINX service
configuration in order to:
mount volume with custom Gisquick template (line
37)
- ./gisquick.template:/etc/nginx/conf.d/gisquick.template
change port forwaring (line
41) to
- "8000:80"
After restarting Gisquick instance, the application will be accessible on http://localhost:8000.